Damson plum jam has been a household favorite for many years. I had never heard of these plums until I did a search years ago trying to learn about this tree in our yard with small purplish-skinned plums that definitely are not fresh eaters. That search led to my discovery of Damson plums. While not tasty off the tree they make a rich, flavorful jam with a beautiful color and aroma. There isn’t a jam that really compares.
Unfortunately last year we had no harvest. Several plum trees in the neighborhood were lost to a mysterious ailment. This year a couple young trees graciously presented us with enough plums for one very small batch. It was nice to have the aroma of Damson plums cooking in the house again.
With a small harvest, the jam making process was quite simpler this year. First comes the harvest in early September. My harvest pattern is to pick when the plums are quite ripe — actually already falling or just hanging on. You may question my technique but I start with picking fresh drops from the ground then I may lay some landscaping fabric on the ground. Now I grab a branch, look down, and shake the branch. After gathering that group of fresh fallen fruit off the fabric I continue to the next branch. This year with only a few branches I did actually handpick but did not on the mature tree we lost. With the fruit picked, you can let the plums ripen further for some days before cooking. Don’t want to wait too long though, they won’t last and the fruit flies love them.
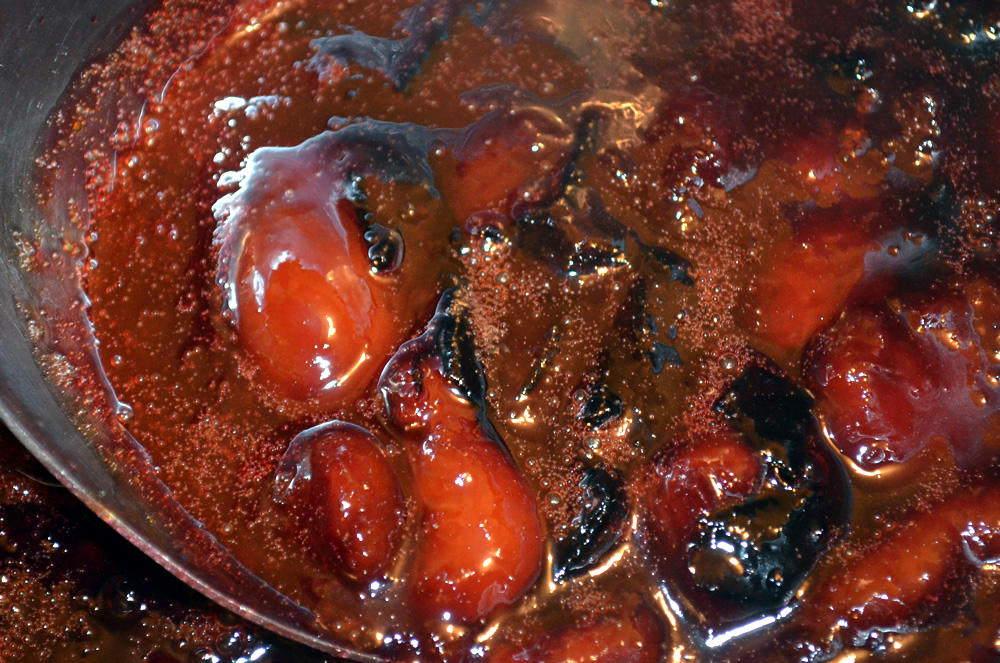
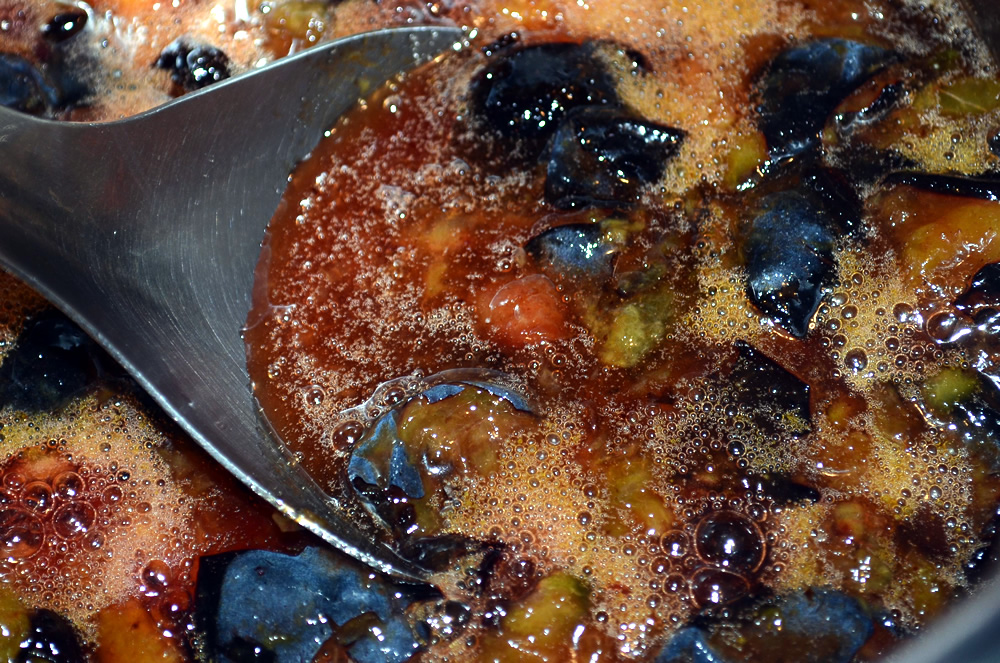
Place the plums into a pot, add sugar and cook. I’m flexible on the proportions but you can start with 5 cups of plums, 3 cups of sugar and a little water. Note that the pits have not been removed. The pits are the hard part with this jam. Some people remove them before cooking and, I admit, with this year’s small harvest I did so as well. It isn’t too hard when they are quite ripe but when you have a lot of plums I prefer to let the cooking do the work for me. I bring them to a boil on medium-high heat then turn it down to medium or a bit lower to continue cooking until the jam sets.
As the plums cook the pits come free from the meat and float. This is when you can start scooping them out. This isn’t the safest method but it works for me. The scooped out pits get piled in a bowl and set aside. Later after they have cooled a bit pop some jam coated pits in your mouth for a very tasty treat — like a hard candy. Just don’t swallow the pits.
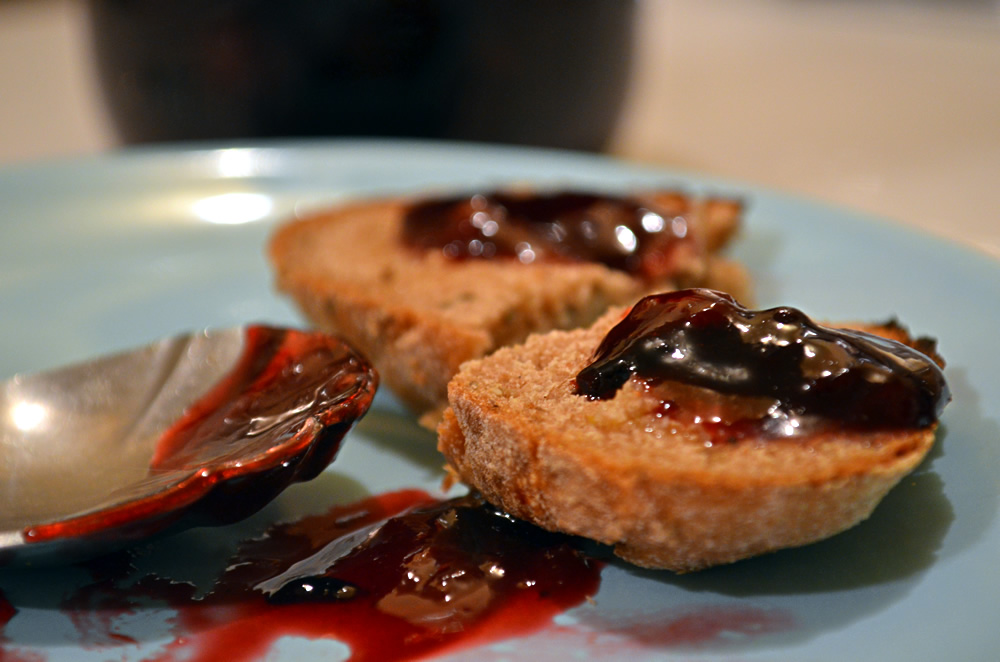
When the jam is ready — we’re typically doing freezer jam — it is off to jars, a nice cool down and then the freezer. Except for one jar that immediately gets used on a piece of toast and then goes in the refrigerator until tomorrow’s breakfast.